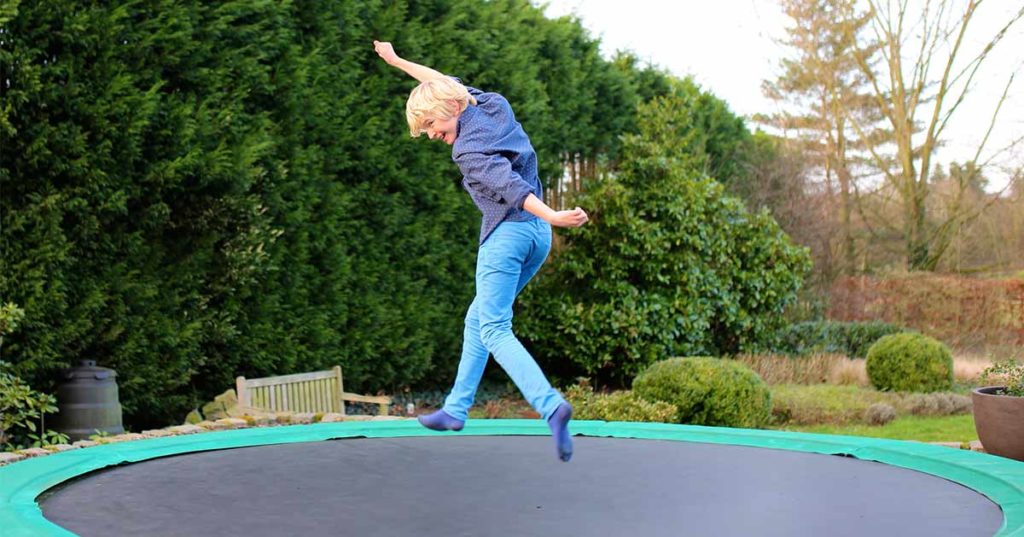
Why an inground trampoline? First, an inground trampoline is easier to step into and out of because it is almost flush with the ground around it. Your loved ones especially kids won’t need to worry about falling off a raised rebounder or through a gaping hole in a torn safety net.
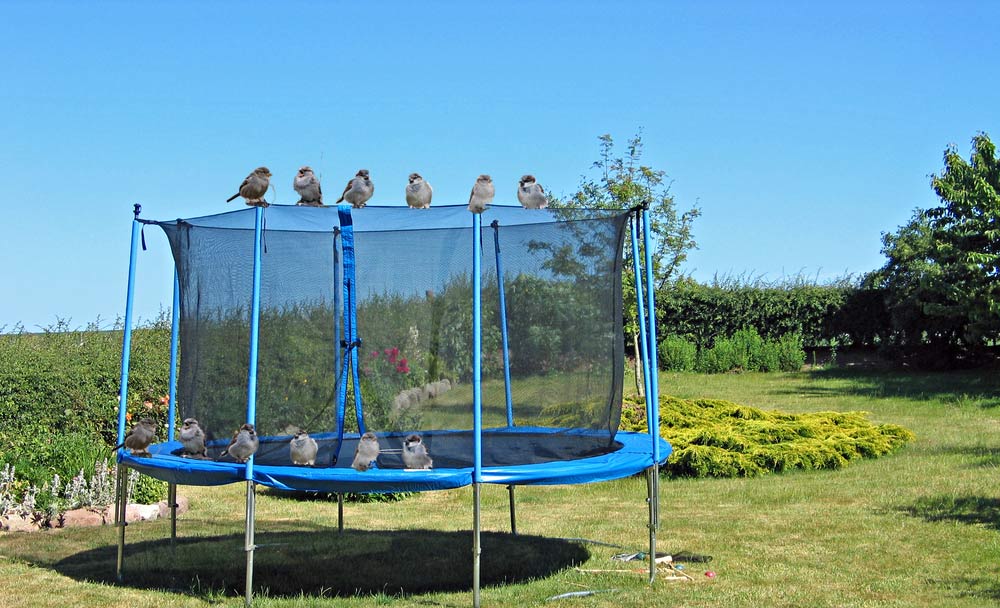
Second, inground trampolines tend to blend into most backyards pretty well.
Also, you won’t need to move it to cut grass underneath it.
Plus, the trampolines offer more decoration options than the normal trampolines. That includes getting you enough soil to create a raised garden elsewhere.
So, how deep do you have to dig for an inground trampoline, for example?
Find out the answers to that and more questions in this quick DIY inground trampoline installation guide.
What You Need to Know Before Installing an Inground Trampoline
Keep the following in mind.
- Your trampoline size will determine how much soil you’ll need to dig out.
- Also, consider leaving enough room for underground maintenance works.
- Consider how you’ll be draining the trampoline hole after it rains.
- Remember, you’ll still want to install all the safety features you would on an above-ground trampoline.
Here are more answers to questions you may have.
Can you install an inground trampoline yourself?
Some people dig a trampoline hole by hand in a weekend. Others need help with digging and redistributing soil in the backyard.
If you are short on time or don’t like digging, you may need to hire a mini digger. And if you have a small garden where redistributing the soil or clay won’t be practical, you may need to hire a skip to take the dirt away.
Alternatively, you can hire a landscaper or general contractor to do it all for you.
How long does it take to install an in-ground trampoline?
It can take three days to several weeks if you sink the trampoline hole yourself.
Or, you can have a complete ground-level trampoline ready in as little time as one day if you get help from friends, machines, or a contractor.
How much does it cost to install an inground trampoline?
Again, the cost of sinking the trampoline hole, redistributing the soil or carrying it away, and installing everything will depend.
Do it yourself, and you won’t have to spend an extra cent on it, especially if you redistribute the soil or clay in the garden.
Hire a mini digger, skip, or professional trampoline installation services to do it in a day, and it will cost a couple of hundred dollars.
What happens underneath the trampoline when it rains?
Sand trampoline bases tend to suck in water and need no extra drainage.
Dirt or clay surfaces can only sip so much. So, you’ll want to install a drainage system under the trampoline mat. That will help keep rot, rust, and insects out of the rebounder’s parts.
What is the best place to dig an Inground Trampoline?
The best place to install an inground trampoline is in the backyard where there minimal movements. Install it away from main paths, at least eight feet from walls, trees and fences to avoid accidents.
Now, how do you install an inground trampoline in your backyard without help?
How to Install a Sunken Trampoline Yourself (Step-by-Step)
Do the following.
- Talk to Your HOA
See if your homeowners’ association supports installing inground trampolines.
Also, consider if your home’s insurance policy covers pit rebounders.
Then ask how high your backyard’s water table is as well as about underground plumbing and electrical systems you could run into.
If in doubt, dig a narrow trial hole 3-4 feet down where you want to sink the pit trampoline.
Leave it overnight and notice if water seeped into it by morning. If it did, then seek another spot.
- Make the Project Truly Yours
What inground trampoline size do you want?
Do you want a trampoline color that matches your backyard flower and plant colors, too?
Ask these kinds of questions to include what you want before digging.
- Lay the groundwork
Here’s the exciting bit.
Measure the circumference of your round trampoline or, if you have a rectangular, square, or oval rebounder, its perimeter.
Add two feet all around and then use the measurements to mark the size of turf you’ll need to dig out. Use flour or spray paint to mark all around the excavation site. Keep it accurate.
The extra two feet will accommodate the trampoline’s retainer wall to keep the surrounding soil from caving underneath the rebounder.
Use a concrete retainer wall if you plan to keep the trampoline site for the longest time.
Alternatively, use ready-made trampoline retainer wall kits that come with reinforced vents for free air movement.
Speaking of ventilation, consider this:
If you dig a shallow hole, such that when you place the trampoline frame in, it’ll stand a couple of inches higher than the ground, you’ll get your air movement right.
Yet, the new gaping space can be a safety issue.
Limbs can get caught in it.
Or, you may lose items, such as keys and shoes, through it and have to disassemble the mat to get them out.
You can still dig the hole deep enough so that the frame will be flush with the ground. Then you can install air pipes to breathe air in and out underneath the mat.
You decide.
Oh, another thing.
Decide if you want to drain the pit by pumping water out or using a pipe to direct it into another hole somewhere.
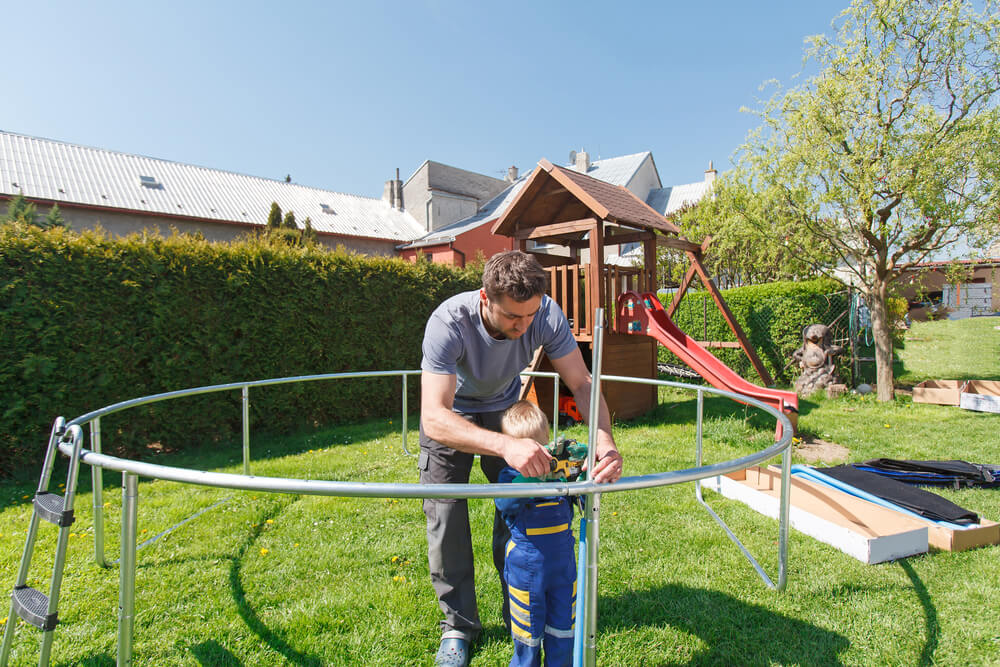
- Get to Digging
You can dig the pit by hand or remove the topsoil with a digger.
Retain the soil if you plan to bury the site in the future. Or, you can use it to raise a flower bed or garden.
Or carry the soil away to clean up the site.
Maintain a shallow ring all around where your frame support will stand. Then dig a deeper center-pit the size of the trampoline mat to the depth you’ve decided on in step 3 above.
- Install the Retainer Wall
What material to use for your trampoline retainer wall will depend on your goals.
If you are building a more permanent fun spot, build the more durable concrete retainer wall. Remember that you’ll need to install a safety net after so your loved ones won’t crush into the hard surface.
If you prefer a seamless trampoline border, consider buying a ready-made retainer wall online.
- Now, install the mat
Now, assemble the trampoline away from the pit. Most manufacturers include that information in the product’s manual.
Remember to cover the springs with safety pads. Choose a color that contrasts the grass’s color to mark where the trampoline site starts and ends.
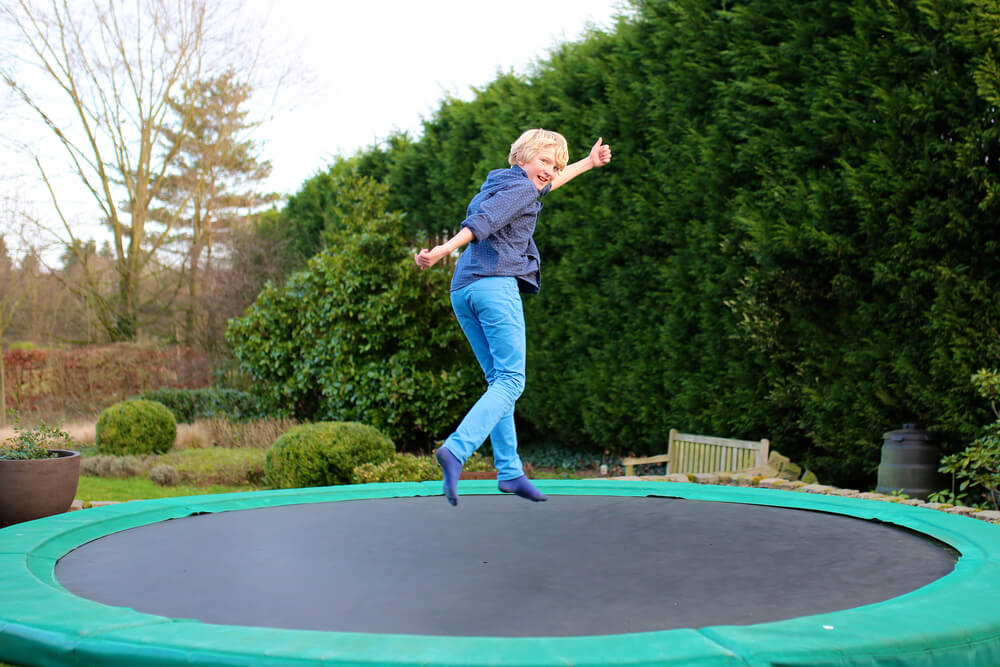
- Bounce a Trial
You want to be sure the rebounder is safe for use before your loved ones can jump on it.
Test its integrity by walking on it slowly.
Then test a low jump near the center.
If it’s still holding up, then bounce like your whole life’s work depended on it.
If you are still standing above ground, then you have a keeper. And you’ve successfully installed an inground trampoline yourself.
It is time for a drink.
Conclusion
Installing an inground trampoline requires more time and money than normal trampolines.
But it can be one of the most rewarding landscaping projects you’ll ever take up in your backyard.
Yet, if you are uncomfortable about the idea of digging a trampoline hole, feel free to ask for help.
Successful digging!