For your trampoline to serve you longer, it must rest on stable ground. Read on to find out how to create a firm surface in the backyard for the trampoline.
We all do it.
Before acquiring a new trampoline, we consider the age of the kids who’ll use it, the unit’s weight capacity, safety features, and so on.
Unfortunately, even after doing all the due diligence, the trampoline breaks or someone gets hurt while playing on it.
Why?
Because most trampoline owners skip an important step: ground preparation.
Whether you’re going for the in-ground or on-the ground trampoline, don’t forget about prepping the ground.
Not only will prepping the ground make bouncing on it safer, but it also prevents the unit from getting damaged.
So, how do you prepare the ground for a trampoline?
Let’s get this show on the road.
Getting the Ground Ready
As a rule of thumb, a trampoline should be installed in an open space, free from shrubs, trees, poles, garden furniture, and any other equipment. This will ensure the safety of the unit itself and the jumpers’.
Prepping ground for a trampoline requires several important steps. You want your unit to fit well in your yard and become a safe play area for everyone.
These steps will help you set the ground.
1. Measure the Area
The trampoline has to fit in the area you want it installed. So the first thing you’ll do is measure the area for appropriate dimensions. Trampoline dimensions should include about three to four feet of extra space around it.
The extra space is for safety and easy movement. Jumpers will find it comfortable to enter, exit, and move around. When cleaning the unit, you’ll be able to move around it and clean every inch.
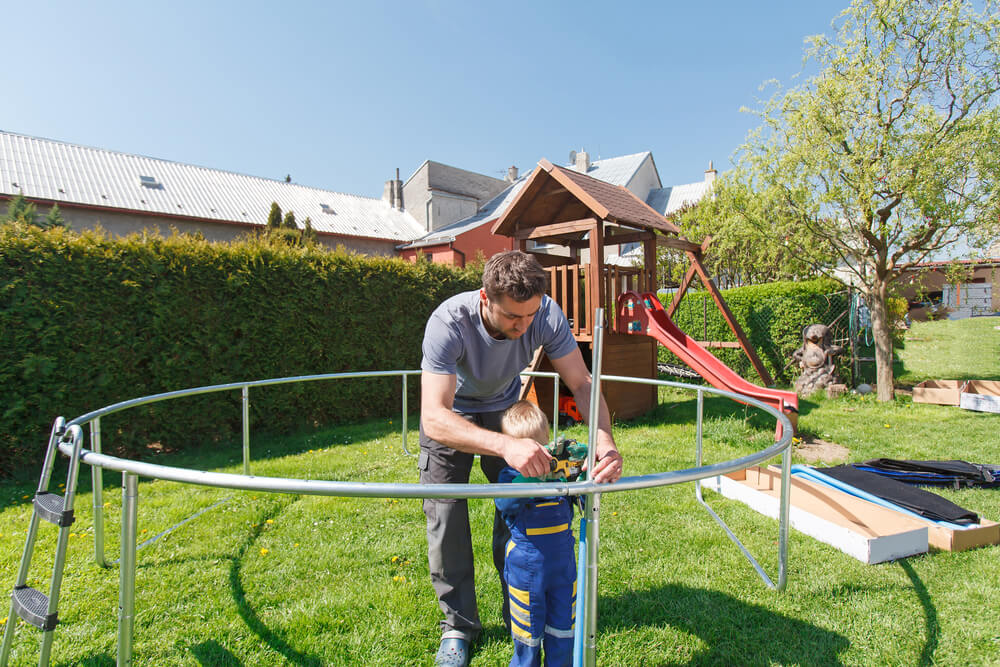
2. Brace Yourself for Yard Work
This is the most crucial part of ground preparation. Before your new trampoline arrives, you have to clear the area. Cut the grass, get trees out of the way, clear bushes, and remove the debris.
Don’t leave any obstacles near the trampoline. Install it in an area free from stones, tree stumps, and more. The ground should be soft and level.
3. Level the Surface
The trampoline will be safer when placed on a level surface. Placing it at an angle increases the risks of accidents and injuries. Check the yard thoroughly to confirm it’s flat and level. If it isn’t, you’ll need to do some extra work.
Now, hang on.
Depending on its condition, you may have to level the surface by adding or removing some materials. While leveling, you should be careful not to elevate the surface so much as it touches the trampoline surface.
When the surface is soft, put a hard material underneath the trampoline feet to give it a solid base to rest on.
Making the ground surface level ensures the balance and stability of the trampoline. You’ll also have extended its lifespan by preventing damage to any of its parts.
4. Construct the Drainage
The ground area will need a drainage system to keep water from clogging around the trampoline when it rains. With no place to escape to, water will build up and cause damage to the unit.
This won’t only affect the stability of the trampoline in the ground; it will also make the area prone to diseases and other health hazards.
The risk of injury becomes even higher when the unit is not stable. To prevent this, construct a drain to redirect rainwater from the trampoline area. You can add a drain rock for effortless maintenance.
5. Trim the Grass
The area where the trampoline will stand should be clear of grass. This makes the installation process much easier.
Remember, to always cut the grass underneath the trampoline to prevent it from growing and reaching the mat. Doing this will also help to keep predators like snakes from nesting there.
How to Make the Ground Comfortable
Although we try to implement all the safety measures we can to improve trampolining, it may not be enough to prevent accidents like falling off the trampoline.
But we can minimize the risks of falling by making sure the ground doesn’t add to the injuries when someone falls off.
The best way to achieve this is to put something soft on the surface to minimize the impact during a hard fall.
Here are a few ideas of what to put under the trampoline.
1. Using Wood chips or Sawdust
Wood chips have been used as padding for most play areas for the longest time ever. And the fact that they are readily available makes them a cost-effective option to have. It would make the area underneath your trampoline soft and comfortable to land on.
You can easily find bags of wood chips to spread around the whole area you’ll be fitting your unit. Wooden chips will cover the ground and prevent any growth underneath.
Ultimately, you get to provide comfort and minimize the need to cut grass.
2. Rubber Mulch
Rubber mulch can provide the best soft landing during a fall. As you’ve probably noticed, most football pitches and playgrounds are full of rubber mulch.
This is because rubber mulch can last longer without deteriorating. Furthermore, rubber mulch is softer and more bouncier if you compare it with wood chips.
Here’s the interesting part:
Having such a bouncy material under your trampoline can really help enhance your safety. Because of this, you won’t even need to put a thick layer of it.
Additionally, the mulch will prevent anything – grass, weeds, plants, etc. – from growing underneath.
To apply rubber mulch on the ground, dig a circle or a shape that coincides with your trampoline shape. Extend the mulch outside the trampoline dimensions.
Then spread the mulch to the designated area. The only drawback you’ll encounter is the expense of acquiring the mulch. This may not be your best option if you are on a budget.
3. Play Sand
Play sand is soft, just like rubber mulch. It absorbs impact well too. You’ll not hit hard if you fall on play sand.
The only challenge you’ll face is acquiring it. Like rubber mulch, play sand also costs a fortune.
4. Grass Mat/Artificial Grass
If grass looks good under your trampoline and you don’t want to go through the hassle of maintaining it, you can use artificial grass.
Artificial grass doesn’t need a lot of maintenance. And you won’t have to move your trampoline around to let it grow.
And did we mention it looks stunning too?
The grass mat provides some cushioning too. The challenge lies in the cost too. It isn’t fair on the pocket either; you’ll have to spend more to get enough.
These options will make jumping on your trampoline safe. Whichever option you choose will go a long way to reduce the risks of injury from falling.
What If the Ground is Sloppy?
When you live in a sloppy area, it might take a long time to level the surface. It won’t be a great idea to install your trampoline on a sloppy surface because of the risks involved.
First, the bouncer will be unbalanced, causing injury to jumpers as they land from the bounce.
But that’s not the only risk.
The trampoline mat and springs will become susceptible to wear and tear, and the damage will be fast. A slope causes the trampoline to lean on one side, which can tip over and injure the user.
A backyard with an uneven surface needs leveling. To do this, you’ll need to perform light excavation.
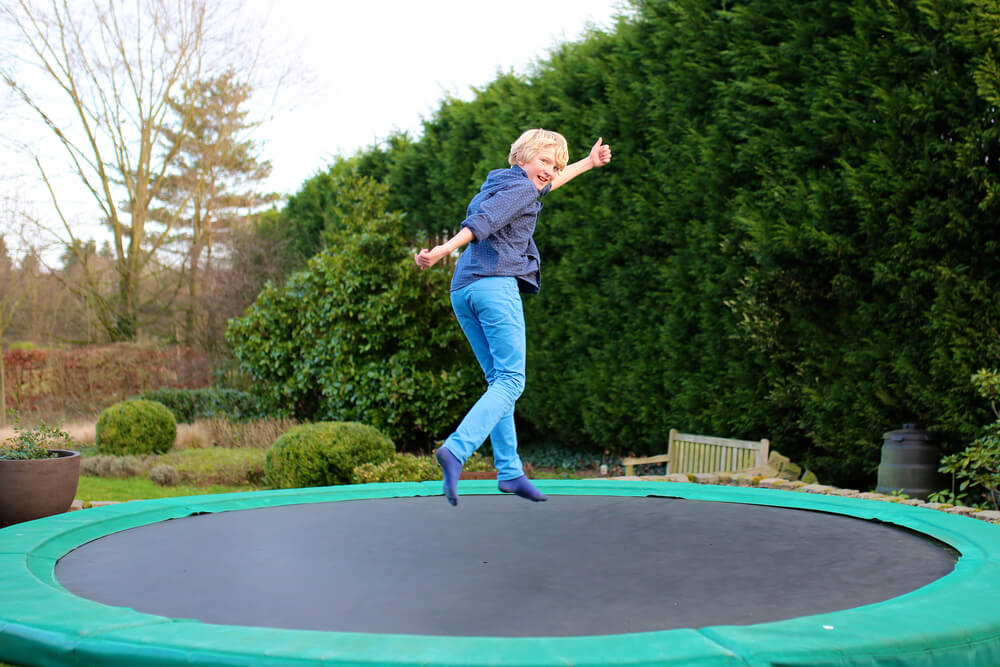
Preparing the Ground for an In-Ground Trampoline
Preparing to install an in-ground trampoline is slightly different from an on-the-ground trampoline.
After identifying the site, you have to determine if the place is on a high water table or not.
Now, this is important:
You’ll need to dig a trial hole (about 3 ft. deep) and let it stay for 24 hours to see if it’ll fill up or not.
Once you determine that the site is not on a high table, you’ll dig your hole, which must be a foot larger than the circumference of your trampoline.
The best time to dig your trampoline hole would be during the dry period. Don’t dispose of the soil; keep it in case you’ll need to refill the hole later or create a donut.
And another thing:
The depth of the hole should be the same height as that of your trampoline or more if you want your trampoline a few inches above the surface.
This is to allow air to escape during the jump. However, instead of raising the mat, you can use air vents.
Preparing the Drainage System for an In-Ground Trampoline
Drainage won’t be a problem if you reside in an area with porous, sandy soil. But if that’s not the case, you’ll definitely encounter a problem where water will collect in the hole and become a pond.
And get this:
A soak-away at the bottom of the trampoline will help. This is where you dig an extra trench across the trampoline hole and fill it with hardcore or gravel. But there are times you need to do more than putting in a soak-away at the bottom of the pit.
Drainage can be done before or after trampoline installation.
Leveling Uneven Ground for Trampoline
If your ground isn’t level, you can do something to make the surface even and ready for the trampoline. Depending on how uneven your ground is, you can either use leveling blocks or a leveling kit.
Leveling Blocks
Trampoline leveling blocks are designed for use with trampolines. They are stackable, with unique features. You can make level variances without them slipping or disconnecting from each other.
They are built to be lightweight and have built-in grooves that keep trampoline legs from shifting.
Leveling Kit
Leveling kits are a set of clamps that attach to the bottom of the frame legs. The clamps are built with adjustable feet extending and retracting when necessary to cover the difference in the ground level around frame edges.
When choosing a trampoline leveling kit, make sure it’s quality, heavy-gauge steel. If your ground has a high level variance, use leveling blocks instead of leveling kits.
Go the Manual Way
If you’re tight on budget and you need to level the ground for your trampoline, you can dig a trench to lower the trampoline legs on the upper slope side. All you need is a shovel.
After that, you’ll add some soil to the down-slope side of the unit until the legs on that particular side are even with those on the opposite side.
Take Away
We hope by now, how to prepare the ground for a trampoline isn’t an issue for you anymore. The entire process can be easy or tedious, depending on the condition of your yard. Rocky and sloppy backyards will take you longer to prepare than a flat surface.
Your success will largely depend on the condition of your backyard and the type of trampoline you’ve chosen to bring home.
Once the ground is clean and ready, you can now consider bringing this equipment home and setting it up for your children to start enjoying their bouncy jumps.
So, take the next step and start preparing the ground for your new trampoline.